Back to: ReactJS Tutorials
ReactJS Development Environment Setup:
In this article, we will set up the development environment for writing our own ReactJS code and working on our own React projects. Please read our previous article where we discussed ReactJS vs AngularJS vs VueJS.
ReactJS Development Environment Setup:
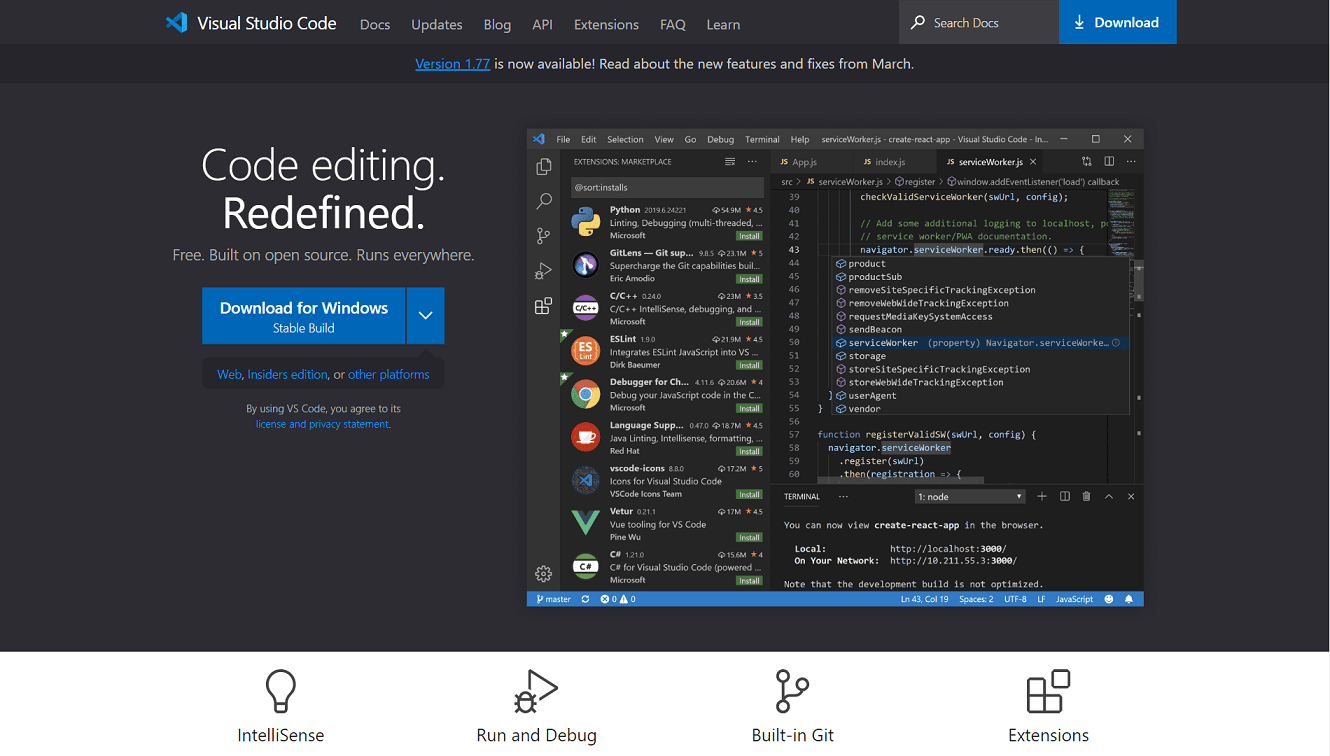
Now for writing React code, you will need a code editor, and any Web Development Editor or IDE can be used i.e., Atom, Sublime Text, Web Storm, or whatever you want. The recommended editor is Visual Studio Code. It’s a free code editor. You can download and install it for all major operating systems. You can simply visit https://code.visualstudio.com/

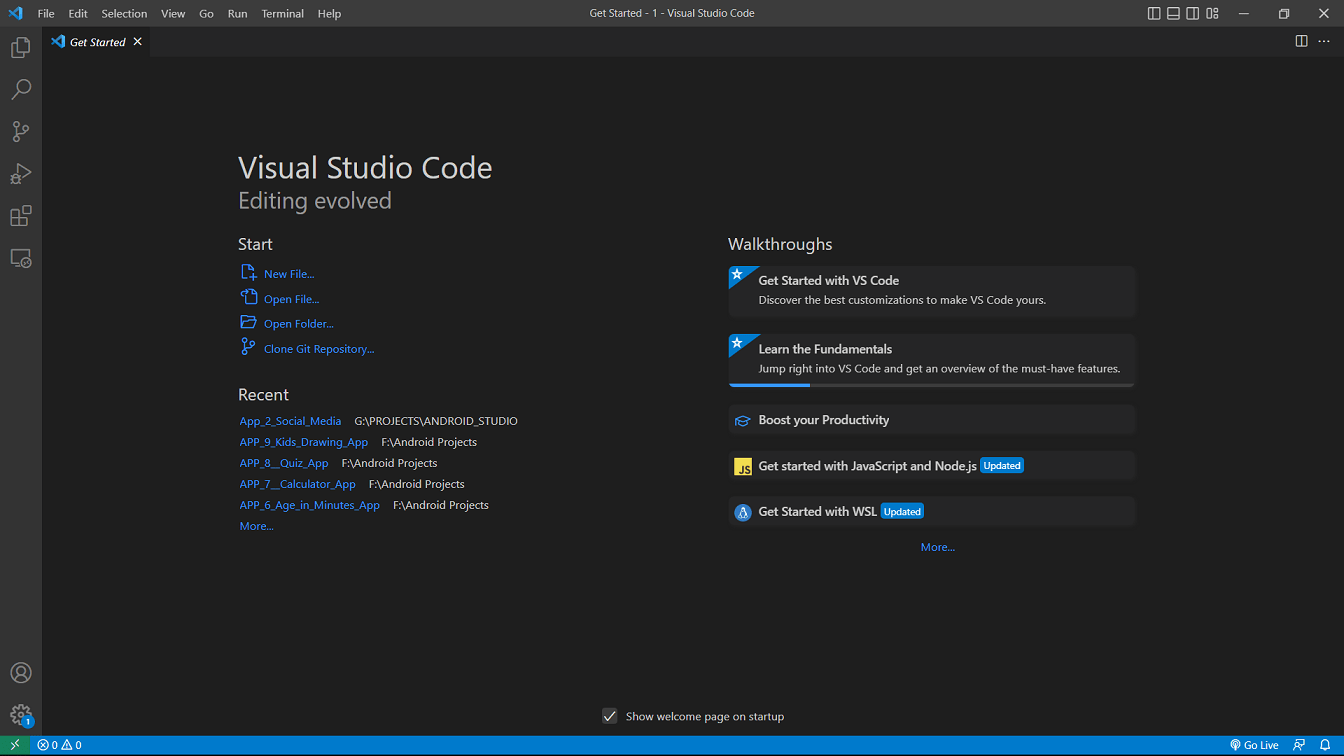
Download the installer from there, and It is a standard installer, nothing special there. Now, once you did install Visual Studio Code, you can open it. And once you did open it, it will look something like this,

The exact look can differ but it should look something like this. You can tweak the appearance under “View” and then “Appearance”.

For example, we can remove the Status Bar by clicking on “Status Bar” under “Appearance”. You can open files or folders through the Open Folder button in the File menu.

And you can simply open the React projects. Later once we do have projects, simply open those project folders with this editor, and you’ll then be able to work on your code.
Now regarding the settings, the styling, and the look of this editor, you can do these according to your requirements. We are using a theme here and you can change it under “Preferences” then “Color Theme”,

Here we are using the Dark+ theme here.

You can switch to other themes but we will use this Dark+ theme. We will also sometimes remove this Side Bar which you can do with “View”, “Appearance”, “Show Side Bar” or with the shortcut key CTRL + B (for Windows). The great thing about Visual Studio Code is that you can install extensions under “View”, “Extensions”,


And here we got a bunch of extensions installed but there aren’t many important ones. Most of these extensions have nothing to do with React. Here, we want to mention two extensions. The first one is Prettier.

This is an extension that will help with code formatting because in Visual Studio Code if you go to your keyboard shortcuts under “File” -> “Preferences” -> “Keyboard Shortcuts”,


there is a Format Document shortcut, which you can bind in case it’s not bound. So by pressing the shortcut key you got some code and it will then format your code so that it looks nicer. It will remove redundant white space and so on. So this can help to keep your code clean and readable. And this shortcut can benefit from the Prettier extension which helps in formatting. So installing Prettier might be a good idea. To install any extension, just search for the extension and click on “install”,

Once you did install it, open settings under “Preferences” -> “Settings”, then search ‘Default Formatter’,

Here, you have to set your “Default Formatter” to “Prettier”. And then this Format Document shortcut, which we showed you, will use Prettier. Now that’s the one extension. The other extension which we use in our upcoming articles is the Material Icon extension. The Material Icon Theme extension. You can download and enable this as well.

We will be using it in some, but not in all the upcoming articles. This extension will simply change the file icons, look of the file icons. So it is optional for you.
Now we have done with setting the environment. These are the settings that we will use for writing the react code and of course, you can and should tweak it exactly how you want it.

Hi Admin, the topic name is ReactJS Development Environment Setup and we are installing prettier here. If it has nothing to do with React then why these extension. I learned .Net Core from your website, I found it amazing. Please continue that good work.