Back to: ReactJS Tutorials
Creating a new React Project:
In this article, I am going to discuss Creating a new React Project. Please read our previous article where we discussed What are ReactJS Components with Examples.
Creating a new React Project:
We need a React project to start our work on the project and finally start writing some React code. And the easiest way of getting started with a React project is to use a tool called Create React App.

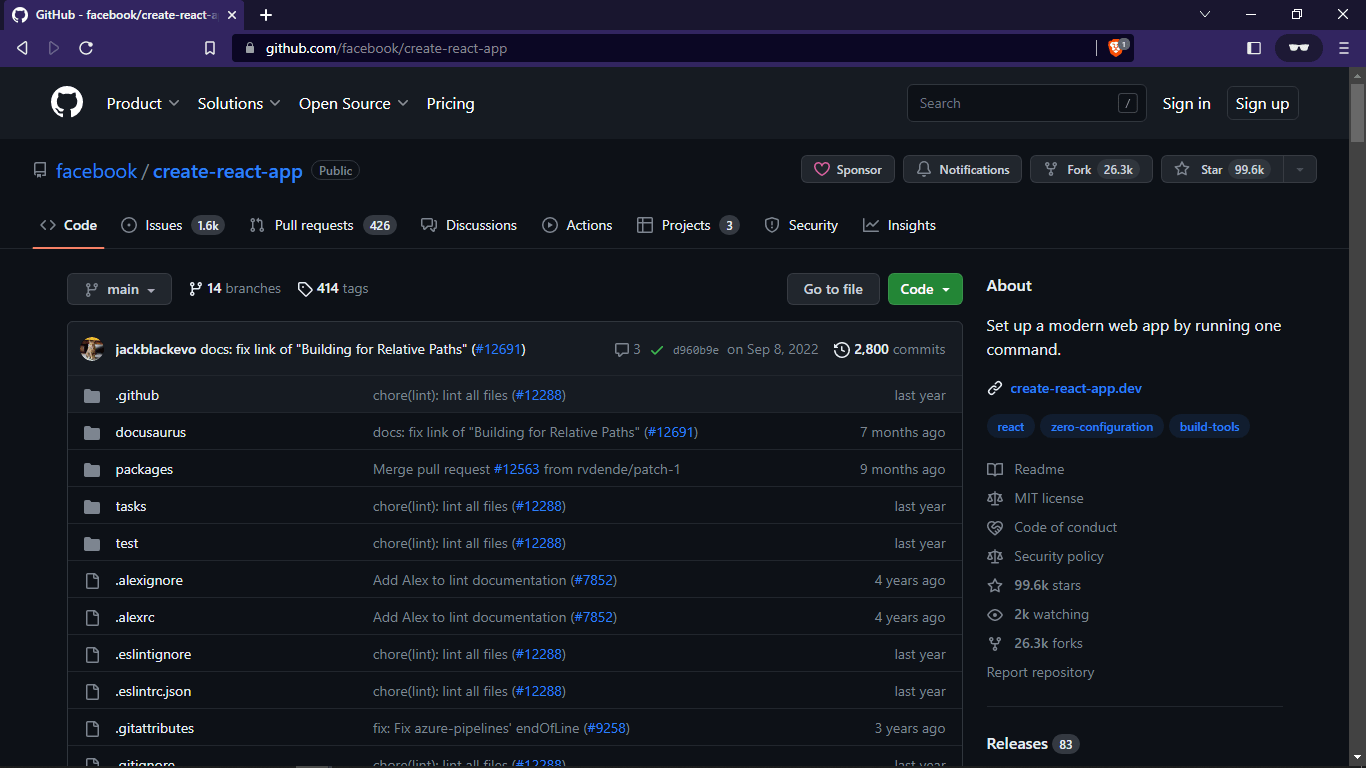
You can simply Google for a Create React App to find this GitHub repository with more information about it.

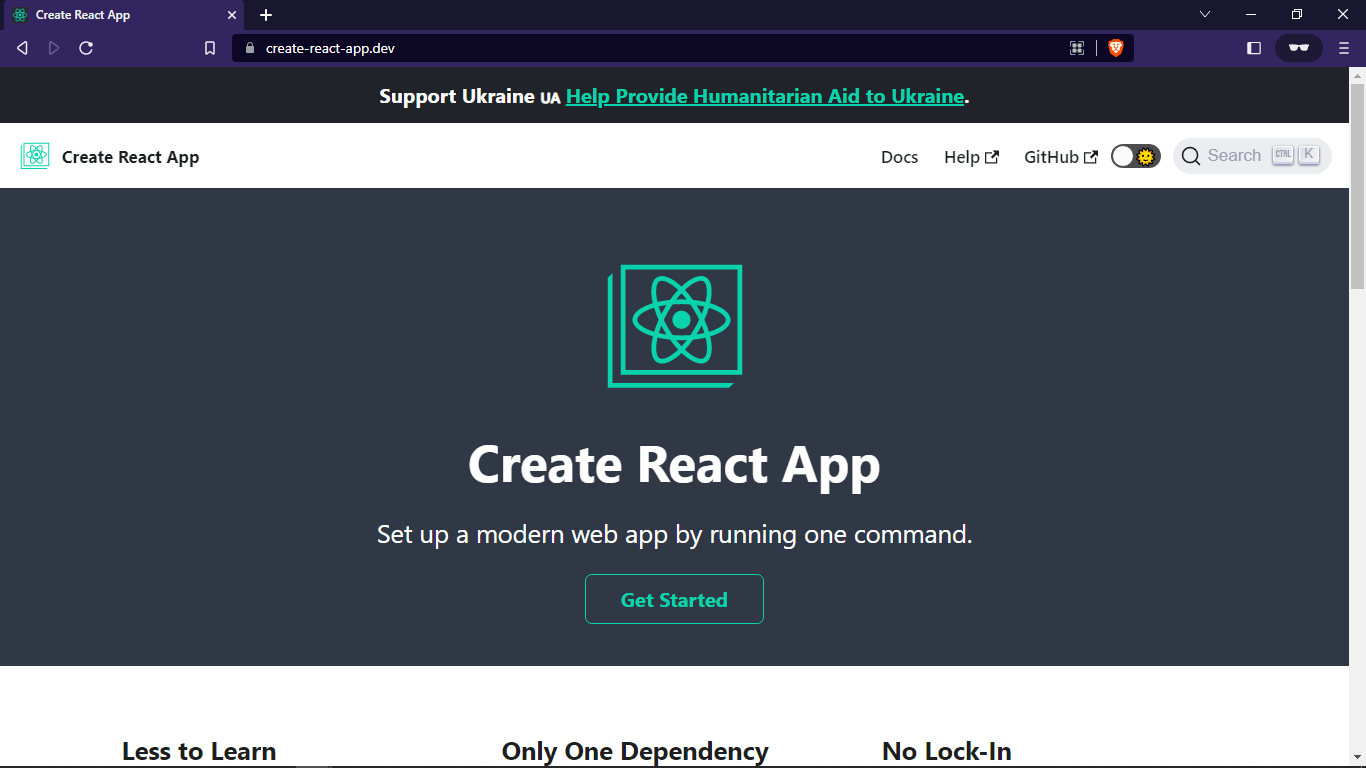
You can also visit, https://create-react-app.dev/ for the full documentation.

Now this is a tool that you can use to create React projects. These are pre-configured folders with some basic React code files and most importantly a bunch of configuration files that help you build that React App for production use because it turns out that there will be a couple of transformation and optimization steps between developing any React App and running a React App in production but more on that later.
And in addition, this project which is created with Create React App will give you a nice development environment with a development web server that allows you to preview the application locally on your machine. And it will allow you to preview this application in a way where the browser will automatically update the page whenever you make changes in your code and so on. That’s why we use a tool like Create React App. It simplifies our development process. It adds a couple of key transformation steps we need and will later also help us optimize our React code before we push it to a production server.
Now getting started with Create React App is simple. In the end, you find all the important steps here. However, to execute these steps you first of all need to visit https://nodejs.org/.

Node.js is a technology that is not directly related to React. It is a runtime for JavaScript which would allow you to run JavaScript code outside of the browser. And therefore, of course, it’s not something we need at all for React. Because React code is JavaScript code that runs in the browser. We will need node.js however, for the create-react-app tool. To run the following command,
npx create-react-app my-app
we’ll need node.js installed on our system, otherwise, this will fail. And behind the scenes, the project which is generated by a create-react app will use node.js for this development preview server and for these behind-the-scenes transformation and optimization steps which we also need to build production-ready applications. Therefore, you should visit nodejs.org and simply download the latest version here. Whichever version that is when you are visiting this page, the exact version doesn’t matter. Simply download this version here and save it somewhere on your system and walk through the installer this gives you.
Processes to Install node.js in Computer:
Step 1: Download the installer from nodejs.org:

Click on the version and the installer will start downloading to your system.
Step 2: Run the Installer from wherever you saved it in your system i.e., ‘C:\Users\owner\Downloads\’
Step 3: A window will pop up on your screen when you double-click on the installer:

Now, click on the next button.
Step 4: Now, click on the checkbox and then click on the next button:

Step 5: Now, it will ask for the location. (Preferred not to change):

Click on the next button.
Step 6: Here, simply click on next.

Step 7: Click on the check box and hit next:

Step 8: Click on install:

After this, the installation process will be started and after some time you will get your node.js installed in your system.

Once you’ve got node.js installed, you are ready to execute the above commands to create a new React application. And therefore, a new folder, then navigate into that folder and then run a special script, which exists inside of that project folder to bring up a development server. But we are going to do that together. So simply copy the following command
npx create-react-app my-app
And then open your default terminal or command prompt on Windows and then importantly, navigate inside of the terminal into a folder where you want to create your React project.

Like here, we are creating our project in the ‘F:\projects\’ directory or folder. You can navigate around with the ‘cd’ command which stands for change directory and then should ultimately go into a path where you want to create this new project. Now copy that NPX command and paste it on your terminal or command prompt.

However, you can change the name of the project. Replace ‘myapp’ with your project name in the above command. Now, simply hit enter,

This will create a new React project ‘myapp’ in the destination where you executed this command. It will create a folder with the name you picked here i.e. ‘myapp’. And inside that folder, it’ll set up all the key files you need to write React code and build your React application.
This might take a couple of minutes to finish. Most importantly, make sure that you don’t have a proxy firewall or VPN client that might be blocking outgoing connections or might be interfering here. The same goes for antivirus software. Now, once this is finished, you should see something like this,

Now you can jump to the created folder i.e. ‘cd myapp’. And then inside the project directory, type ‘npm start’ on the command prompt. And this will start this development server which hosts a preview of this React application.

Once it is successfully compiled as shown above, it will automatically open up this application on localhost:3000. If it doesn’t open this page automatically, you can manually visit ‘localhost:3000’ in your browser.

Now there, you should see some starting page or some dummy React application as shown above which has been set up for you. Now, we’re ready to edit this code. And for this, we already recommended visual studio code as a code editor in the first code section. In that section, we have also explained our visual studio code setup and how you can make sure that it looks and works for you as it does for us.
So, you can download and install it for all operating systems. But make sure you have a look at the first core section where I walked through that in detail. Once you did all of that, simply open the visual studio code and then opened the created project folder with the visual studio code. Simply, click on “File”->” Open Folder” and then pick the folder that was created, which holds your React project.

And you should see something like shown above. You should see a source (an src folder) and the package.json file. The package.json file, in the end, holds all the dependencies of this project,

The ‘src’ folder holds the actual source code that you will be working on. And you will see more files in there than we have it here because I already cleaned up that folder. We wanted to show you how you can create new React projects because ultimately that is what you need once you’re done with this React course.
First, you have to cancel that running development server which we started a couple of seconds ago in the command prompt. By going to the terminal where this server is running and hitting CTRL + C there which will cancel it and now, by the way, if you reload localhost:3000, you’ll no longer see the website.

Now here’s a nice trick that we recommend that you use. We again, need to start this development server to have that automatically updated preview of the application we’re building. Now the best way to start that server again is to go into visual studio code for that project you opened up. And then here in the menu, go to the terminal, a new terminal, and open a new terminal here,

It will open the below Terminal window.

It is now your default system terminal or command prompt just integrated into visual studio code. And here you need to run two commands. First of all, run NPM install,

This will look into the package.json file and download and install all the required packages and dependencies into this project folder. We didn’t have to do this earlier because when we ran ‘npx create-react-app, ‘npm install’ was already included in the overall setup process.
You will now have a node modules folder here that holds all these dependencies. You should never edit or work in this node modules folder because that’s just all these third-party packages downloaded onto your local system. Now, once the ‘npm install’ process is done, you can run ‘npm start’ and this will again, bring up this development server.

You should always keep that development server running as long as you’re working on the code because if you shut it down, you can’t preview your application anymore though you can always restart it by running ‘npm start’ again. And as long as this process is running here, it will automatically watch your code files. And whenever you change something in code it will automatically update the loaded page in the browser. So, keep this process up and running here. Don’t close this terminal unless you’re done for the day. Now on localhost:3000, you should see something like,

It is just a dummy starting state on which we’re going to build. And that is the starting project that we’re now going to work with. That’s now our starting state, where we can now finally dive into the React source code and start learning React.
In the next article, I am going to discuss Understanding Standard React Project. Here, in this article, I try to explain Creating a new React Project with Examples. I hope you enjoy this Creating a New React Project article.
Registration Open – Microservices with ASP.NET Core Web API
Session Time: 6:30 AM – 8:00 AM IST
Advance your career with our expert-led, hands-on live training program. Get complete course details, the syllabus, registration, and Zoom credentials for demo sessions via the links below.
