Back to: AWS Tutorials For Beginners and Professionals
AWS CLI Setup on Mac
In this article, I am going to discuss AWS CLI Setup on Mac. Please read our previous article where we discussed AWS CLI Setup on Windows.
AWS CLI Setup on Mac
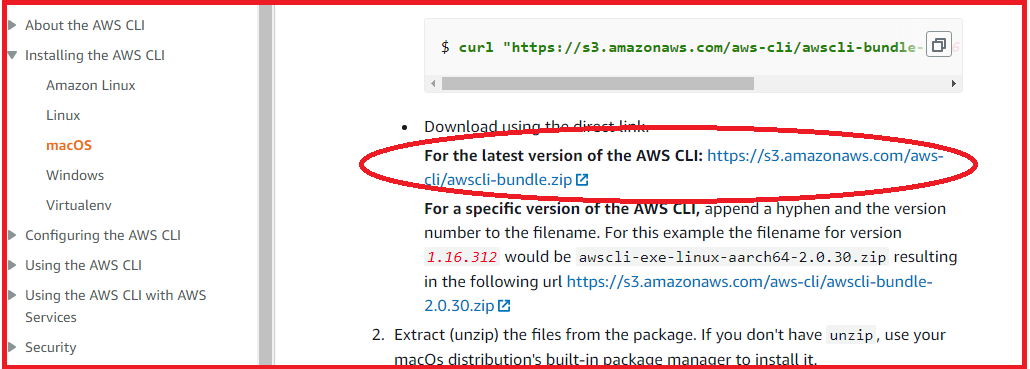
Install the AWS CLI on Mac and for this, we are just going to Google and make sure to choose a link installing the AWS CLI version 2 on MACOS.

Click on it and then we are just going to follow the process. And here is how to install it.

So, we can just download a PKG file and this will be a graphical installer.

Then download the PKG file. Then you click on continue, continue, continue and you agree. Then “Okay, install it for all the users “on this computer.” Click on continue and then click on install, and this goes ahead and installs the CLI on mac.

The installation is successful and we will move the installer to trash.

And open a terminal on mac. For example, “terminal”, and will give you a terminal app.mine is called item on mac, which is a free terminal that you can use.

And just type AWS– version and if everything is going well, then it should give you back the version of the AWS executable. And we get the answer, AWS CLI 2.0.10, which means that everything has been installed correctly.
In the next article, I am going to discuss AWS CLI Setup on Linux. Here, in this article, I try to explain AWS CLI Setup on Mac and I hope you enjoy this article.
