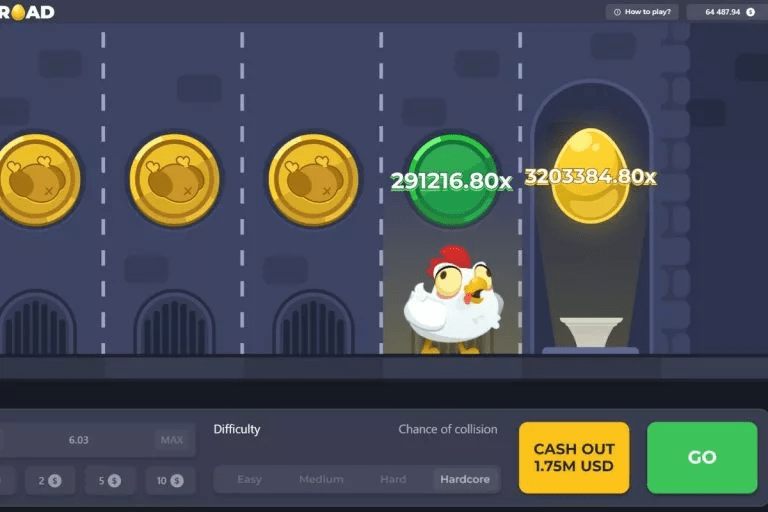
Games teach better than books. This project is a simple way to learn Unity and C# through practice. We’ll build a game where a chicken crosses a busy road. It’s a classic: fast cars, quick reflexes, increasing difficulty.
This project helps you practice:
- 2D physics,
- sprite control,
- C# scripting,
- user interface design.
You’ll build a complete game from scratch. Each feature has a purpose. Each part is explained clearly. In the end, you’ll have a working app you can expand and improve.
Ready to start?
Setting Up The Unity Project
Start a new 2D project in Unity. Name it something like ChickenRoadGame. Make sure to select the 2D template – that sets the right defaults for camera and scene setup.
Open the main scene. Clear any default objects. Add a chicken sprite – this will be the player. Place it at the bottom of the screen. It will move up to cross the road.
Create car sprites. These are the moving obstacles. They travel horizontally – left to right and right to left. Set up colliders and use no gravity. This gives full control over movement.
Design the background: a road with 4–5 horizontal lanes. Cars will move along these lanes. Leave space at the top – that’s the win zone.
Save the scene. Create folders: Sprites, Scripts, Prefabs, Scenes. A clean structure makes your project easier to manage.
This is the foundation of your future Chicken Road Game. Take your time to get it right.
Character Movement
The player controls the chicken using arrow keys or WASD. The chicken must move up, down, and sideways to avoid cars and reach the top.
Unity tracks keyboard input to move the chicken. Movements should be smooth and time-based. That ensures consistent behavior across devices.
Limit how far the chicken can go. It shouldn’t leave the screen. For example, it shouldn’t move below the start or above the win zone.
Add sound effects for movement. A soft step or beep makes the game feel alive. Audio helps players connect with their character.
Now that the chicken can move, it’s time to add the main challenge – cars.
Adding Car Obstacles
Cars are moving objects that cross the road horizontally. They enter from one side of the screen and exit on the other. Then they reappear. This creates a constant traffic flow.
Cars move at different speeds, on different lanes, with different gaps. That keeps the game challenging.
The chicken must avoid touching any car. Touching one ends the game. You use invisible detection zones to trigger this.
Add variety. Small cars are fast. Trucks are slower but wider. Players must adjust their timing.
You can add visual effects – screen shake or flash – on impact. A sound makes the crash feel real. It all adds tension and engagement.
Handling Collisions And Game Over
When the chicken hits a car, the game must react instantly. No delay. That’s critical for fair, responsive gameplay.
Once there’s a crash, freeze the action. The chicken stops. Cars pause. A clear message appears – “Game Over” or “Try Again.”
Add effects: fade the screen, flash red, or slow down time briefly. It makes the moment more dramatic.
The player gets two options: restart or quit. The buttons must be clear, large, and responsive. Don’t make players wait – they should feel in control.
A loss isn’t the end. It’s a reason to try again. This loop – fail, learn, retry – keeps players engaged.
Winning And Increasing Difficulty
When the chicken reaches the top of the screen, the player wins. Show this with a message, sound, or animation. It should feel like a reward.
But don’t stop there. Move to the next level. Each level is harder: cars go faster, gaps shrink, lanes increase.
Display a score – how many roads the player has crossed. Show it on screen, updating live. It gives purpose and momentum.
You can also add new obstacles: bikes, buses, random car pauses. This keeps gameplay fresh and surprising.
Winning is not the end – it’s a reason to keep going. The game evolves.
User Interface And Feedback
The UI should be simple, clear, and useful. Players need to see:
- score,
- level or speed,
- win/lose messages.
Place UI elements at the edges. Use large, readable fonts. Green means success, red means failure.
“Restart” and “Exit” buttons should be obvious and easy to click. They must respond instantly, with animation or sound.
Sounds matter. Steps, crashes, wins – everything should make a sound. But keep it balanced. Audio should support, not annoy.
On mobile, vibration adds depth. Trigger it on loss or win to create a tactile response.
Good UI doesn’t get in the way. It just works.
Conclusion
Making a game like Chicken Road Game isn’t just fun. It teaches real skills: logic, design, feedback, and structure.
You learned how to:
- build a scene,
- set up player and obstacle behavior,
- handle game outcomes,
- scale difficulty naturally,
- create clean, usable UI.
A simple idea – “chicken crosses road” – became a playable game with depth and personality.
Now you can add more: levels, skins, high scores, mobile support. It’s your game – expand it as you like.
Thanks for reading – and happy game development!
